Monday, September 16, 2013

[boys bedroom makeover]

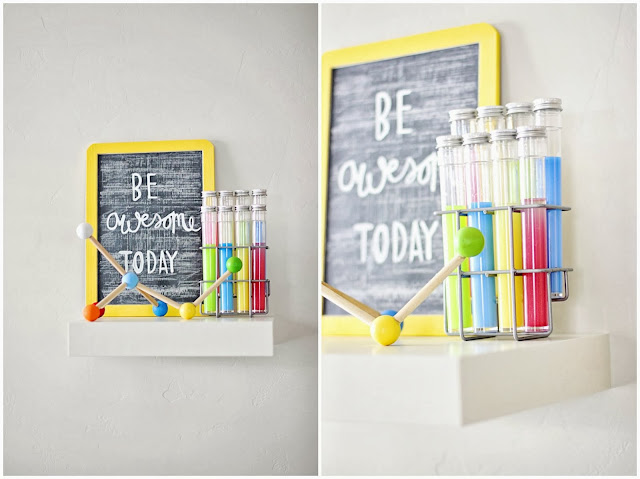
We have been trying to create a space for these 3 boys (Yes, I said 3! Gasp!) for quite some time.  We wanted a space that they loved playing in + something that inspired their creativity.  We bought a few new things for this makeover, and the rest we already had.  It's fun to get creative and make things over to save some money here and there.    Nixon is alone all week, + the room is shared with Quinn + Hayden on the weekends.  I love what we came up with, and I think the boys really enjoy it.


ROOM DETAILS: (for those that have asked)

Big dresser: Ikea (save $50 by signing up to be an Ikea Family member)
White dresser: Pottery Barn Kids via Downeast Home 
Nixon's bed: Pottery Barn Kids via Downeast Home 
Quinn + Hayden's bunk bed : Direct Source Furniture
Book Shelves: Ikea
New York Poster (set of 3, includes London + Paris): Ikea
Ikat Pouf: Fingers + Toes (my talented neighbor) 
Hayden's bedding (top bunk): West Elm
Nixon + Quinn's bedding: Target 
Number #13 pillow + #2 pillow: Polo Ralph Lauren via Home Goods
Rug: Rugs USA (emerald)
Big wire basket: Home Goods
#20 wire baskets: Target
Red striped blanket + blue striped blanket: Target
White + blue quatrefoil pillow: Home Goods
Blue pillow + green pillow: Ikea 
Black mini globe: Home Goods
Lantern: Pottery Barn Kids 
Felt balls: Maypole

If anyone has any questions about anything else, feel free to ask. 

[Wood pallet sign DIY]

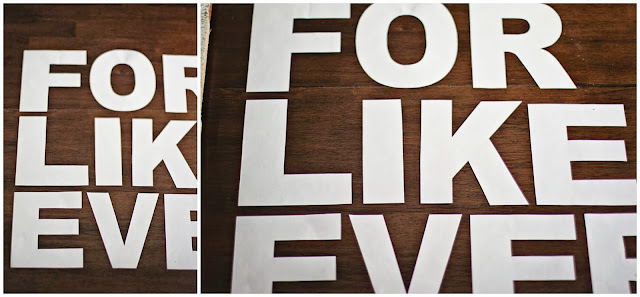
Note: The dimensions for the "for like ever" sign is 24"x22".   I purchased the wood at Home Depot.  For the front boards I bought 2 pieces of cedar [$2.45 each] that were 6 feet long by 5.5" wide.  (5/8" thick) I had them cut 24" long, which gave me 3 pieces of wood from each cedar board (6 total)  For the smaller piece of wood I bought another cedar board [$1.64] that was 3.5" wide by 6 feet long. (5/8" thick) I had them cut two pieces 18" long. 

Directions:
1- Find a hot handy man [optional, I just lucked out with my husband] to assemble your wood pallet.  It was as simple as screwing in a screw to each board to hold the sign together.  
2- Paint your pallet the color of your choice.  I like to rough it up with some sandpaper after for a more rustic look.
3- For my letters I like to print off letters after I have resized them on my computer to the size I want them.  I get my letters HERE.  Once I have printed them out (can be trial and error on the size) I cut them out.
4- Lay the letters on your pallet and lightly trace them with a pencil.
5- Carefully paint the letter the color of your choice.
6- I like to go paint over my letters really lightly with some white paint to give it a more rustic look.  You can also sand them a little bit with sandpaper.


For the "to the moon & back" sign, I used old barn wood that my mother in law gave me.  The dimensions for this sign were 24"x24" I has more of a rustic look to it.  I love the way it turned out.